Category Archives: Uncategorized

Lovely Ina Maxi

If you frequent PatternReview you probably know about the Pattern Review Ina Maxi Skirt pattern.

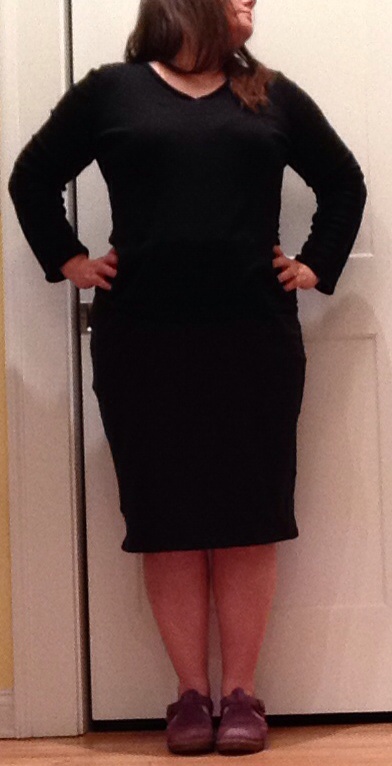
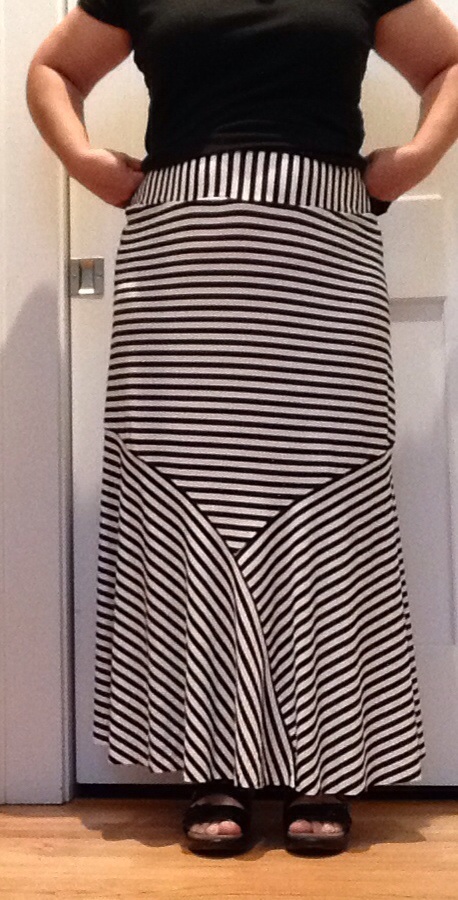
There is a very long thread about it in the  Pattern Review forums.  I bought the PDF version the day it was released, but just got around to sewing it last night.  It took about 2 hours to sew, so a true instant gratification project.  Here is the result:

image

I left the skirt up hemmed.  If it grows or I decide I don’t like it I may hem it, but I like the way it looks now.

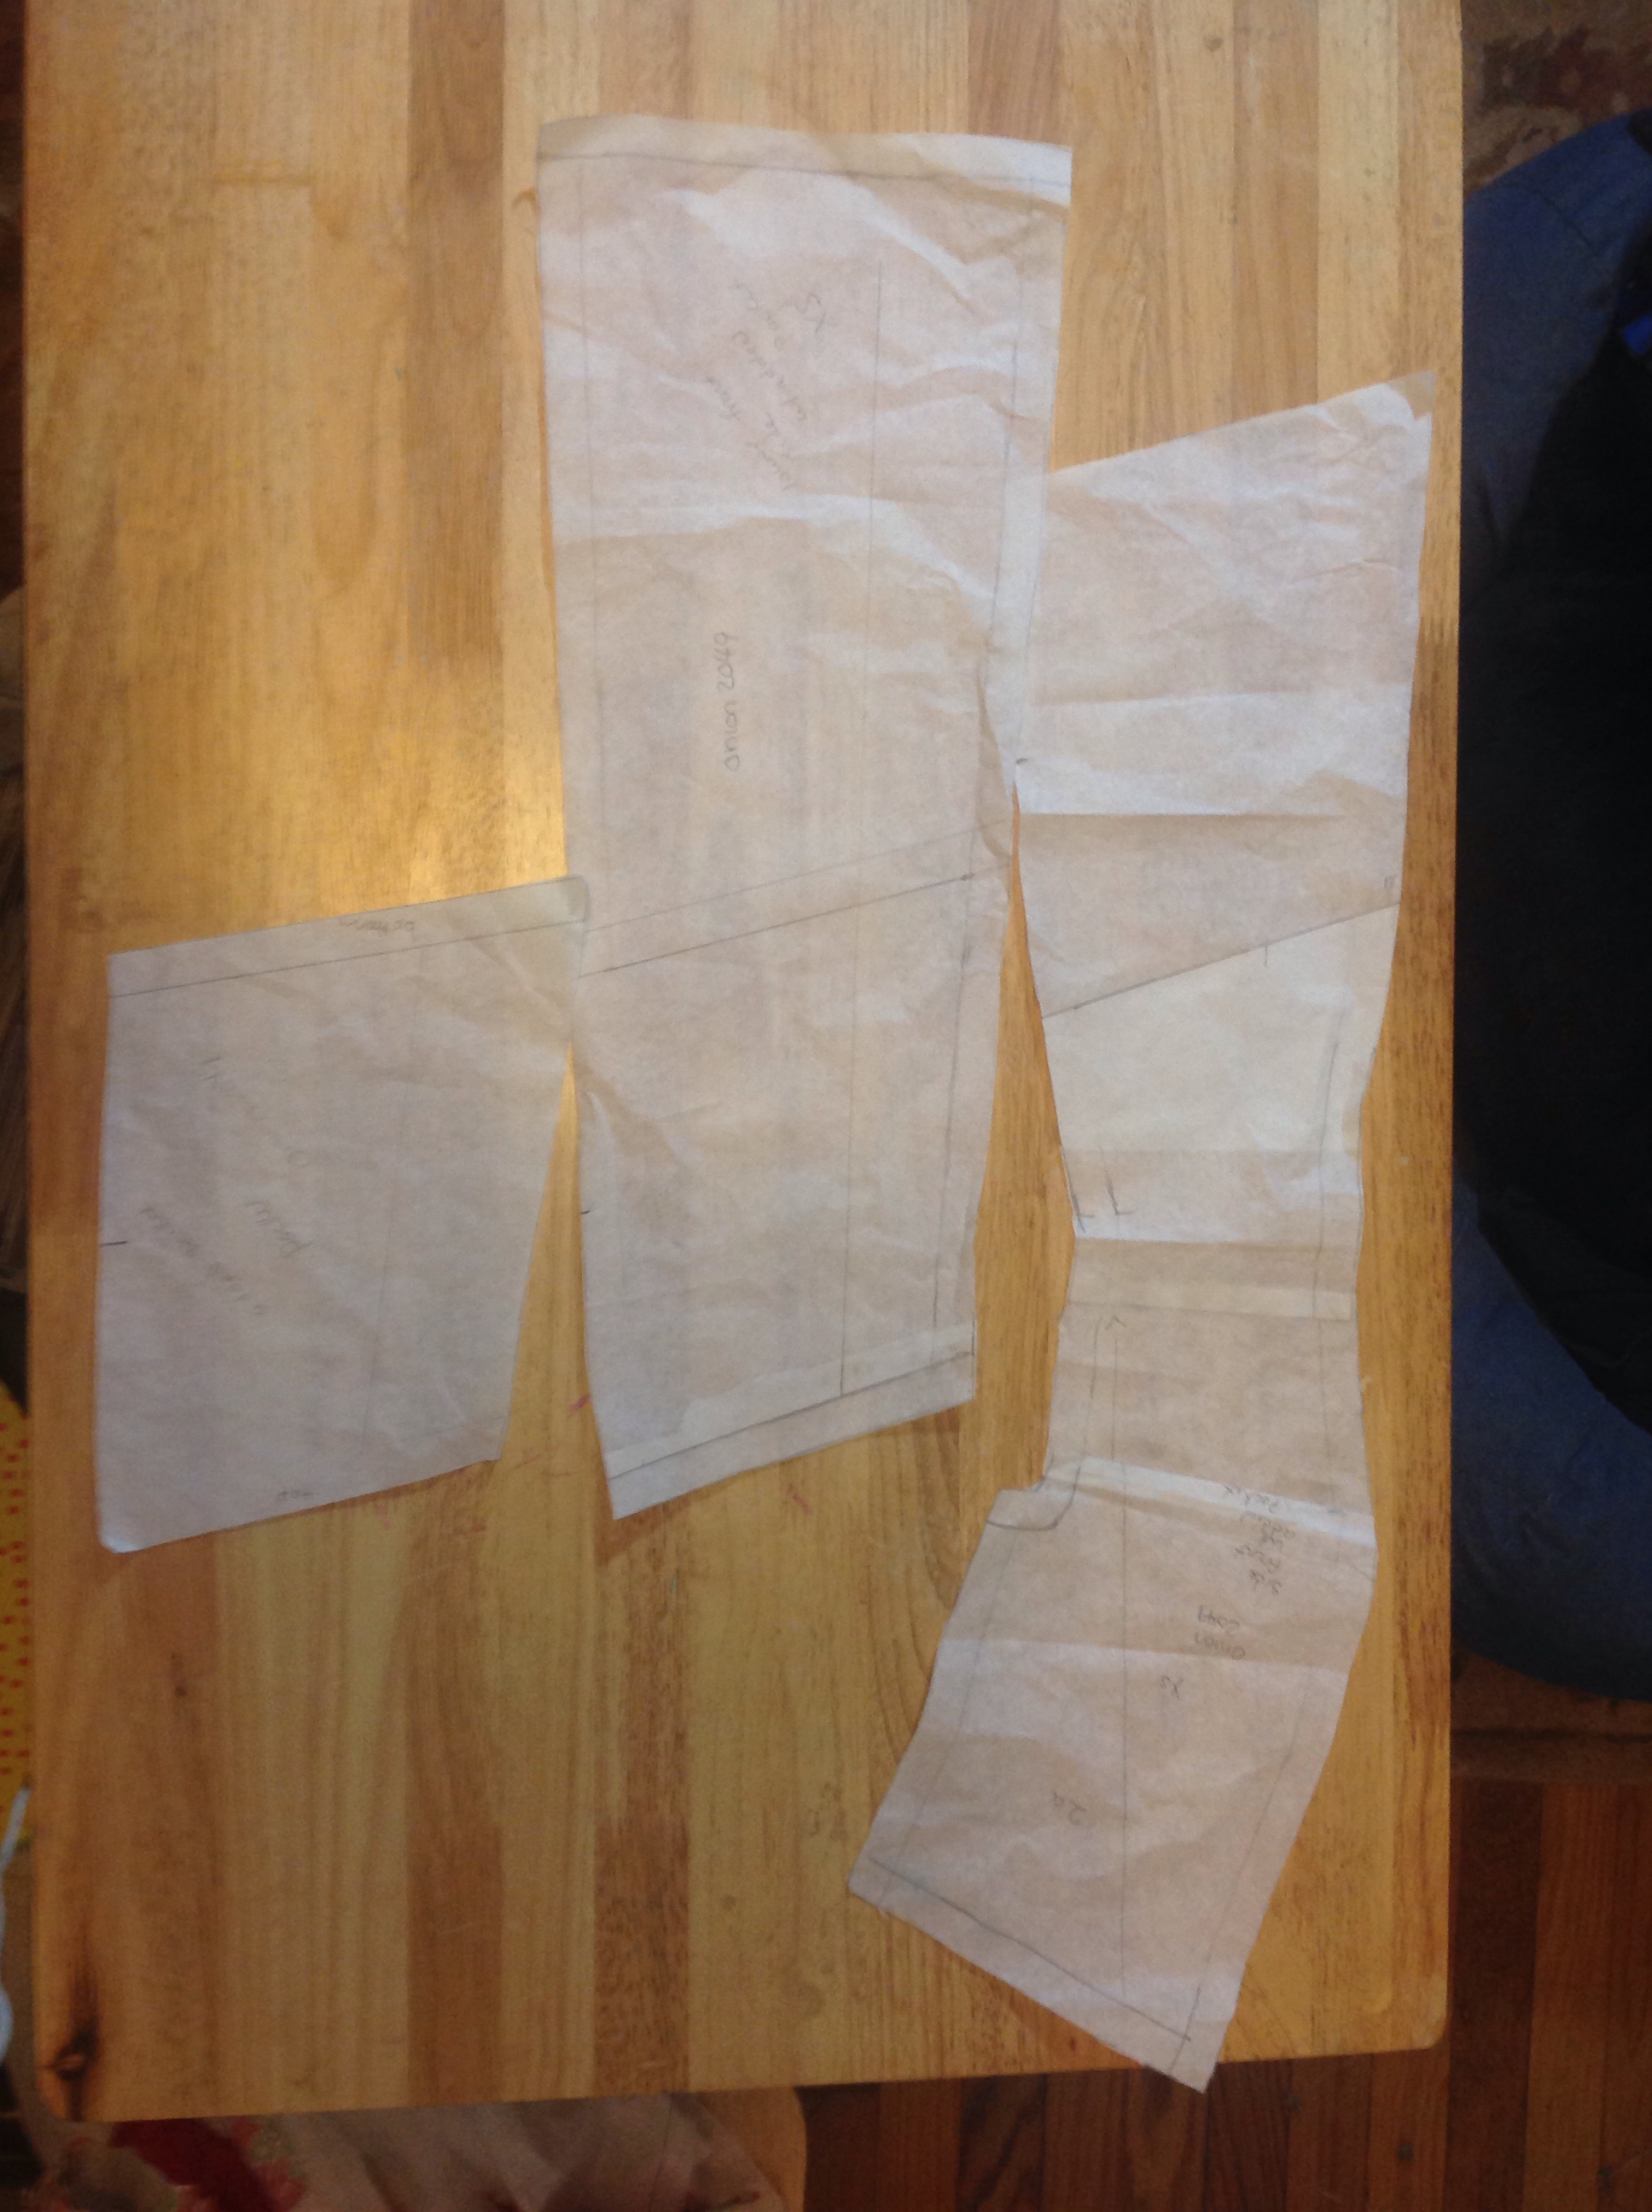
I cut the waistband on the lengthwise grain as you can see here:

image

The the only changes I made to the pattern were to shorten it by about 4 1/2 inches and to add clear elastic, stretched a bit)  to the seam allowance at the top of the waistband for security.   Oh, and I cut the godets I also used my usual 1″ just in case seam allowances in the side seams.

I love this skirt and would love to make more versions–maybe color blocked or with a vertical stripe.  I could have used this fabric with the stripes vertically as it had both horizontal and vertical stretch.  But I did cut the godets as if the  stripes were vertical.  To get the stripe effect in the godets be mindful that your stripes are in the same direction as the pattern indicates. Since I shortened the pattern, I was able to cut this skirt (size XL) from 2 yards of fabric.

Style Arc Ann T-top

When Style Arc had a promotion with Gorgeous Fabrics to join their mailing list and get a free PDF of the Ann T-top, I signed right up.  I had been wanting to try out Style Arc patterns, but I was a little nervous about ordering as the patterns come in one size, and I wasn’t sure what size to order.  With the promotion Style Arc sent 3 sizes and I ended up selecting the smallest size to fit my shoulder and upper bust.  After a false start (I found out that my computer scaled up the pattern piece pages but not the test square page which made me at first thing the patterns had more ease than I would like:  but luckily I realized my mistake before I cut my fabric and was able to go back and set my computer to 100% scaling and reprint (and realtor the pattern).  This is my test garment, which is quite wearable:

image

On my dressform it looks more drapey than gathered.  Part of the issue is that the top is altered to my measurements, not my dressform’s and the other part of the issue my fabric is very soft and drapey,   I still really like the top. Next time I make it I will use slightly shorter pieces of clear elastic to gather the front sides.  My elastic must have a different stretch and recovery than what the pattern was tested with.

here’s a short tutorial on how to add the elastic:  I marked the length on the clear elastic with a pen, but cut my pieces slightly longer to make them easier to work with:image

Then I tacked each end (at the marking) to my seam allowance.  Note that my seam allowances are much bigger than the 1/4 inch seam allowances in the original pattern.  I typically use 1″ seam allowances to the side seams “just in case”.

imageimage

In the picture in the right, note that my elastic is twisted.  I had to unpick my stitching and redo it–ugh!  Then I sewed the elastic and fabric together, stretching the elastic as I sewed, which gathers the fabric.

image

I am happy with this top and will make more.  Best of all, I now know what size I am in Style Arc tops and dresses

image

A Tale of Two Dresses

I made 2 dresses this weekend:  one I call my Brady Bunch dress (modified Tilly and the Buttons Coco Dress)

image

The other is from the 4/2009 issue of Burda Style view 136

image

Even on the dress forms you can tell one dress works and the other doesn’t.  Let’s look at them on me:

imageimage

The Coco is the winner!   Much better fit and flattering.  And apparently it has been discovered that horizontal stripes can be slimming.  Looking at the photo, they certainly don’t make me look wider.

The Burda Style dress is just plain too big.  The neckline is too big the waist is too big, there’s too much volume.  I may attempt to take in the neckline.  The magazine photo didn’t show such a large neckline, but I am much shorter than a model, with narrower shoulders.  I should have just adjusted the neckline.

i am really happy with the Coco and made a tie belt to go with it.

image

I scooped out the neckline and added the neck and sleeve bands.

My current project

image

This is what I am currently working on:  a Marian Martin pattern from the 1930’s.  It’s an unprinted pattern and what’s really unusual about it is that it has a photo on it rather than the usual line drawing.  I couldn’t find any other MM patterns online with a photo.  I had to grade it up a size to start with (I traced the original of course) and now I am going to do a couple fit alterations and then test with a muslin.  My version will be a solid color, maybe two colors (contrast belt and yoke and maybe pocket) and the plan is to finish it in time to wear to my youngest’s “movin’ on” ceremony at the end of May.  The pocket is for the tissues I will need:  no, better make that a handkerchief  as that would fit the era!


Sewing like a madwoman…

I have been sewing quick knits this week and finished several items:

another Onion dress

image

Jocole A-line Yoga skirt

image

Kwik Sew  3513 Yoga Skirt

image

And Onion 6019

a knit pencil skirt

image

I have another knit dress cut and ready to sew… It’s from Burda Style magazine.  And a pair of rayon crepe pants are cut too.

Lots of new made-by-me clothes for me-made May

are you participating in Me-made May?

If you want to find out more about it, click on the link below!

http://sozowhatdoyouknow.blogspot.com/2014/04/me-made-may14-sign-up-here.html

Onion 2049 with added pockets

When I saw this Onion Pattern


image


I thought it would be great if the seam in the front side panel of view B (and C) was a pocket.  It isn’t, and the seam is really too high for a pocket placement, but the pocket idea had taken hold of me.  So when I decided to order some Onion patterns

image

I included Onion 2049 in my order.  I had not bought an Onion pattern in years, but they are some of my favorite patterns.  The instructions are in Danish, but the designs are not complicated.  They are well drafted designs and they have many unique knit dress patterns.

I had some leftover fabric and wanted to use it to make my daughter a nightgown.  The fabric remnant was an odd shape, long and thin, and I thought the princess seam panels of onion 2049 would work with the remnant–they did! Then I started to think about pockets.  Nightgowns don’t usually have pockets, but I thought they would be fun.  The existing decorative seamline is actually above the waist (though it doesn’t look like it in the drawing) so it wasn’t going to work for a pocket.  So I drew a new line, lower than the waist, as the top of the pocket.  I drafted the pieces like so:

image


Oops! The pattern pieces are upside down. The top panel piece and lower panel piece overlap and that makes the pocket.  I also added a pocket lining piece.  It isn’t necessary, but made the inside of the pocket nicer and also eliminated the need to see the pocket stitching on the outside of the dress.

Here’s a close up of the pockets

image

And an extreme close up:

image

And this is what the pocket panel looks from the inside of the garment

image

The pocket is the width of the panel and is enclosed on the sides by the panel seams.

My daughter won’t model the dress, so I can’t show you how nice the princess seams make this dress.  Here is a close up of the bodice

image

The ribbing I used at the neckline is almost a good match for the fabric, except the pink.   I raised the neckline in my daughter’s version as she is petite and the original neckline would have overwhelmed her.  I also shortened the torso.

Here’s entire dress

image


My daughter is not much of a dress person, but she will wear this as a nightgown.  I may make myself a version–maybe with pockets too.

Murphy’s Law of Trousers

Continue reading

Ottobre Woman 5/2011 zip hoodie

image

I made some navy yoga pants and wanted a jacket to wear with them so I chose this zipped hoodie from the Autumn Winter 2011 Ottobre Woman.

I have a ton of this navy blue Polartec 100 fleece and found some white ribbed knit in my stash which I used for the hood lining, sleeve cuffs, and the binding for the pockets and hood edge.  I think the navy with white trim gives the jacket a little bit of a retro look.

attaching knit strips as a binding is not difficult.imageSew the edge of the binding to your fabric, stretching the binding a bit as it is shorter than your fabric’s edge.  How much shorter?  It depends on the stretchiness of your fabric.  I made my pieces about 20% shorter as my ribbed knit wasn’t as stretchy as some are.  I used a narrow zig zag.

image

Press the seam open and bring the binding over the edge of the fashion fabric to the wrong side of the fabric

image

Fold under the edge and pin or clip into place, then topstitch from the right side, being careful  to catch the folded over edge of the binding on the back in your stitching.

A coverstitch or twin needle could work for the stitching here.  It is possible to do this in reverse, and start with sewing on the binding to the back of the fashion fabric and flipping it over to the front and tucking under the edge, but if you do it that way you would still topstitch front side up.

image

topstitching

image

Finished edge (hood)

Binding the pockets is a little fussier than the hood, as the edges are more curved, but they are done the same way.

A nice thing about this pattern is that there is a center back seam, which starts straight and then angles outward so I didn’t have to do a sway back alteration.

If I were to make this jacket over again, I would make the cuffs shorter in comparison to the arms:  the proportions were off with my shorter arm, especially with the stark contrast between sleeve and cuff on my version.  I find myself folding up the cuffs when I wear them, but then my sleeve is 3/4 length.

The fit is consistent with other Ottobre Woman patterns and I made my usual alterations (minus the swayback which was built in)

Burda Moden February 1977

image

those fabulous seventies!

here’s a sampling from the magazine

And two of Burda’s favorite themes were  used even then:

image

Folklore

and

image

Safari!

image

Nice knits

image

More knits

image

These seem to be a 1970’s take on the 1940’s

image

These knitting patterns make me wish I was a better and faster knitter

image

More folklore

image

The plus styles

the lapels on that purple blouse!

image

This is the 4 size style

it looks like it would be a flattering shirt dress

image

Like the fabric choice of the dress

image

Nice pockets!

image

Kids (love the pinafore)

image

More kids

And I really like this kitchen from one of the articles

image

Burda Moden August 1966

image

I love this red jacket, particularly on this dark haired/dark eyed model.

image

Love the two shades of grey chevron dress with the red jacket

image

a little mod

image

Not sure about the flower, but otherwise cute

image

This was the dress that came in 4 sizes this issue:  42, 44, 46, 48

image

Raincoats

image

Some of my favorites this issue

image

The plus styles/half sizes

Pretty matronly overall, but the gray dress has some nice details.

kinder:

image

Again in a range of sizes for girls

image

and boys (not sure about the tushie patch on the overalls)

also some knitting patterns for women and kids.  I love this boys sweater:

image

But I am not sure if modern boys would go for it

Back to women’s clothes for one last picture

image

I have always adored houndstooth!

the button up blouse is interesting too

Next we jump forward to February 1977